Want to teach your kids to sew? Here’s a great make and take project from my friend Kerry at Catholic Homeschool Moms. It’s an awesome addition to our Screen-free Summer Life Skills Bingo series!)
We cleaned out my mother’s storage room two weeks ago and found a treasure trove of stuff. Toys from the 80s, my father’s old 8mm camera, and three (yes, three) vintage turntables!
One of the finds I enjoyed the most was a gigantic silver case of sewing materials, complete with 1960 era patterns. My mother used to sew her own clothes, and I loved seeing the old fabrics and tools.
I never picked up the sewing habit, but I’d love my kiddos to give it a try. So this week I’m turning to my friend Kerry from Catholic Homeschool Moms with a fantastically fun, totally take-able, tic-tac-toe sewing project.
This summer, we’re spending a lot of time in the car. Road trips require distractions and this project is just the right size. I recalled a Tic Tac Toe game board that my brother and I used to play in the car. It would stick to itself, so we would never lose the pieces while traveling.
It also doubles as a sewing project for the family.
I chose to keep it a simple sewing project that would travel well, so I did preliminary work with a little helper. We did not do this project all in one day; we took it in bite sized steps.
First, I prepared the pocket for the kids and had them practice a simple stitch to put the small pieces together.
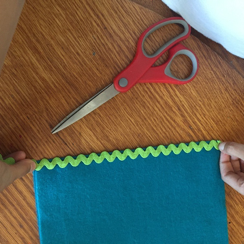
We used felt so that the material would stick to itself. I chose watermelon colors.
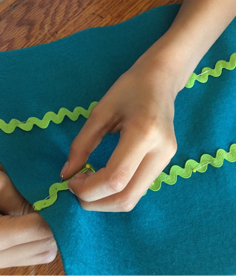
We also picked out some rickrack so that it would separate the squares on the board. I did not measure exactly with this one, but knowing that we were going to lose about a quarter inch on each side, I positioned them closer together so the end product would look more balanced.
This step could also be done with fabric paint—just allow for drying time.
No special measuring here, just use the size of the felt sheet and cut four to create the Tic Tac Toe board. It should go over a little, because fraying can occur.
Pin the work down to sew with a machine, or have a child do some stitches. It was a bit challenging for small hands, so I continued the job with the machine.
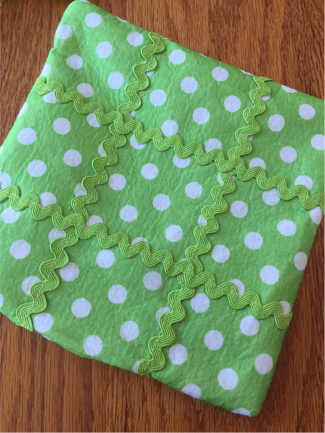
This is the Rick Rack sewn down. The front and back of the base were sewn together and flipped right side out. There is a space at the bottom side left open for storing the Tic Tac Toe pieces right inside.
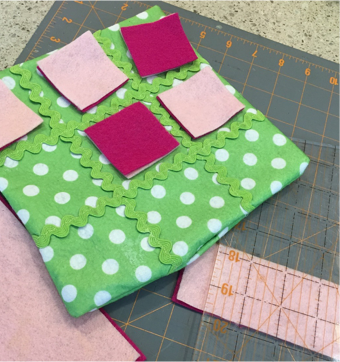
The next step was to cut the playing pieces. This could be done with one layer, just paint one side with circles and the other side with Xs. I wanted two colors to play, so I opted for a little more labor. The squares are two inches by two inches and fit perfectly inside the board.
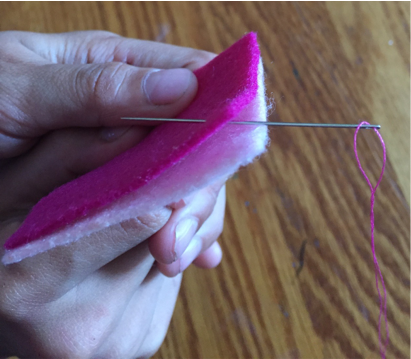
The kids started their threads in the middle, between the two pieces so that the knots wouldn’t show. They had the choice between sewing around the edges, or doing a quick stitch. (They chose the quick one.) In total, they sewed ten pieces, just in case we lost one. They each made five squares and I watched their stitching improve as they put them together. This was our first sewing experiment together so I really wanted to keep it simple for them.
Our final project turned out solid! We played a couple games and then put it away. We all really like the pocket. Although next time, I would make it a little larger to be able to reach in and pull out the pieces.
We are ready for travel. Game on!
 Kerry Olvera is the force behind Catholic Homeschool Moms, your one-stop-shop for all things Catholic homeschool related. A former teacher turned entrepreneur, Kerry loves to sing, talk theology, and keep chocolate and coffee nearby. You can find Kerry on Pinterest, Twitter, and Facebook.




That’s so cute and a perfect car game!
Oh, this is lovely. We are going to do this! Thank you so much!
That’s a great idea! My sister is really good at sewing, and has made some fun travel games like this for my kids.